Movie Matte paintings traditionally used to be painted on glass and composited with other elements in an optical printer or filmed directly in front of the camera on the set, but now with the advent of digital technology that can now be done in the computer with the aid of “photoshop”, photos, 3D models and photomontage which are skilfully combined to fool the eye into thinking the image is real or part real. Matte Paintings are great for creating vistas that don’t exist, set extensions, changing a shot and adding details that were not there to start with.
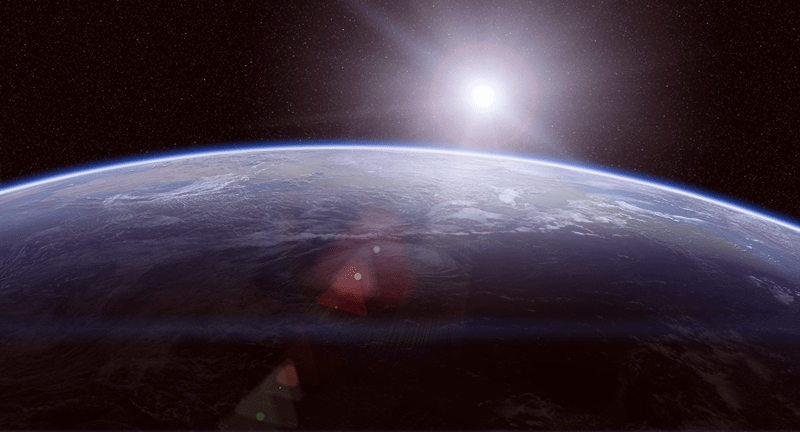
Here for my project which was inspired by the movie “Gravity” I created my digital matte painting at double film resolution. Film resolution is 2K so I went for 4K in case I needed to zoom/push into the painting a bit or even crop it. It also allowed me to get the necessary detail in. Then I would resize it down to 2K which allows you to hold on to the details within the image. For the image above I used Photoshop and Poser. Poser is normally used for rendering out pre-viz shots for some productions or creating life like people straight out of the box. It also has a massive user base all over the world.
Once I had my texture map, bump and spec maps created to a high enough resolution I set my scene up in poser with a high resolution sphere to represent the planet. The bigger the texture map the better the detail will be when rendered out in 3D. One infinite directional light set to 200% with the main camera set to 75mm. It took a lot of trial and error to get the bump height right on the sphere and the lighting to a realistic angle and strength. Below is the rendered sphere build up of how the various layers were made.
Surface
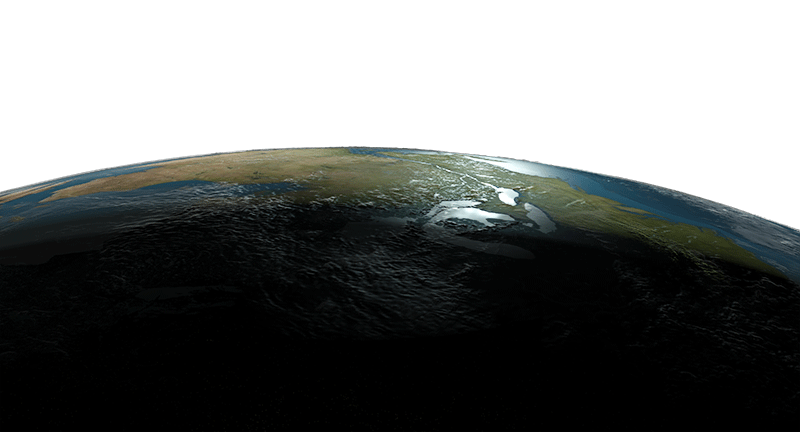
Cloud layer
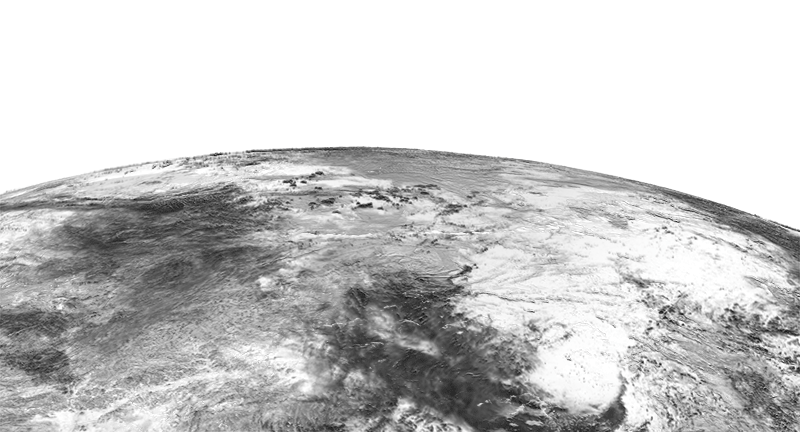
Shadow layer

Ozone layer

Atmosphere layer

Planet, Ozone & Atmosphere
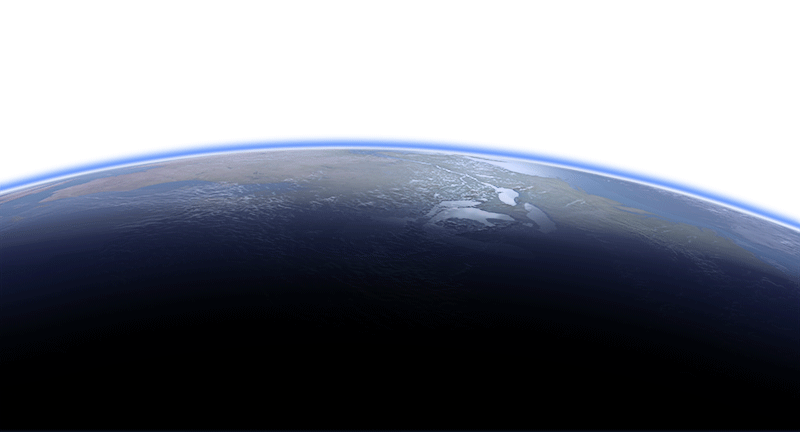
Planet, Ozone, Atmosphere & Clouds
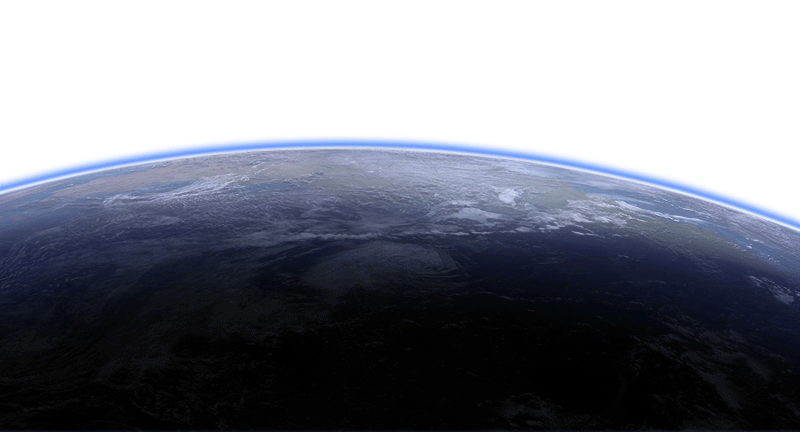
Star layer

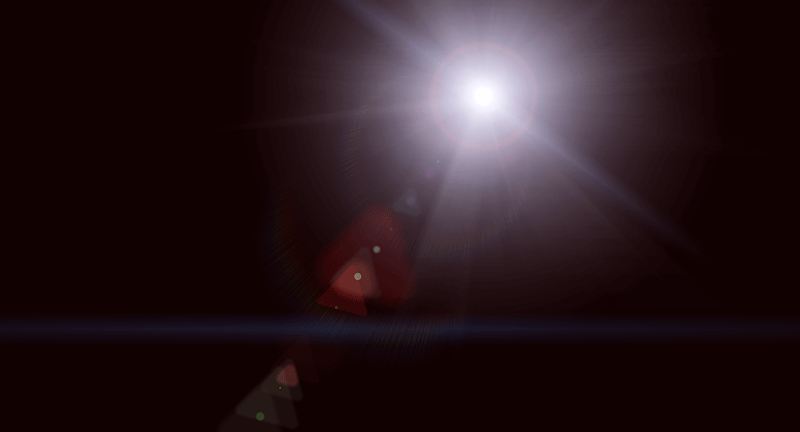
lens flare used in final composite
Final Shot
Rendered out and digitally graded In After effects at Blu Ray HD resolution with a Poser rendered Satellite asset. Notice the Camera pans and tilts down to the right of frame with a hand held camera shake. Creating the Matte Large enough allowed me to do this in After Effects by placing the Matte far enough back in Z space and scaling it up to fill the frame. I could then animate a camera move in 3D.
You could render the sphere with all the cloud and atmosphere maps applied in one go but in doing so it would allow you less control over the final look of the painting and effect you want to achieve. Probably resulting in a less realistic look. Rendering it as a breakout shot allows much more control over each element.
The star background was rendered using a program I purchased many years ago called “Universe”. I’m not sure if its still available. It saves a lot of time if you need a star field quickly.
 Copyright © 2014-2024 Gary Collins

This one is fantastic and nice to see all the layers that went into it